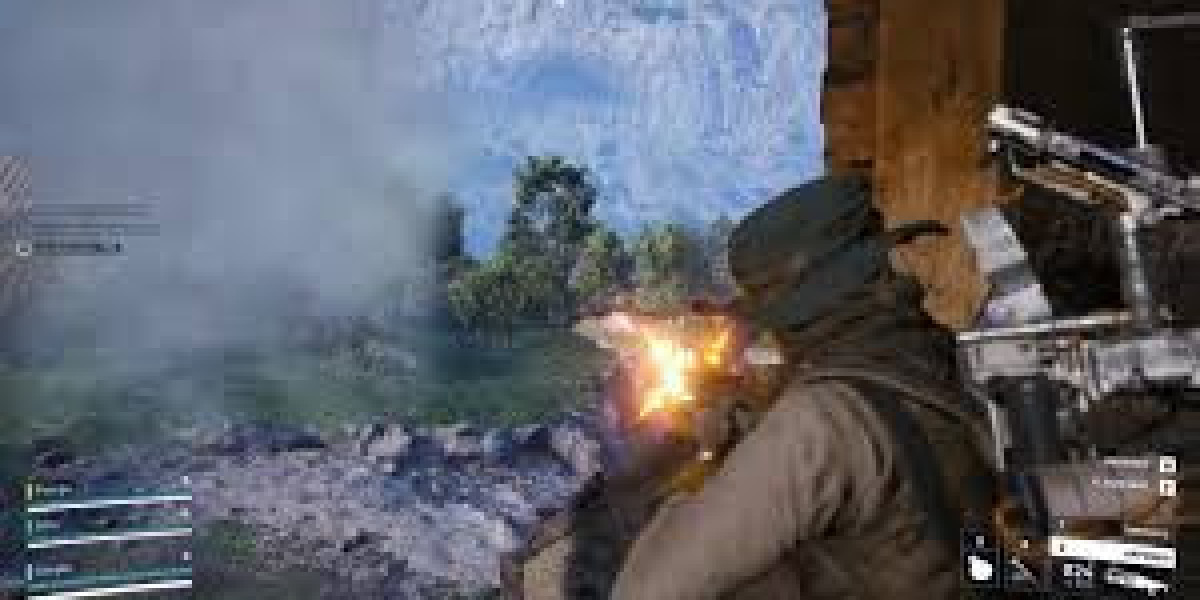
When you have spent a few runs poking around the ruins in Arc Raiders, you very quickly learn to hate that thin red beam sliding across your chest, especially once you have got a few decent ARC Raiders Items to lose. It is not a sniper lining you up. It is the Spotter, that little floating narc that does not fire a single bullet but still manages to ruin your day. Its whole job is to mark you so its big buddy, the Bombardier, can drop shells on your head from what feels like half the map away. The second that laser sticks to you and stays there, your “safe” piece of cover stops feeling safe at all.
How The Spotter And Bombardier Work Together
The Spotter flies ahead like a forward scout, drifting around until it catches someone out in the open or peeking too long. Once it locks on, it is basically feeding live GPS to the Bombardier. As long as that beam has a clear line to you, the artillery shots land way closer than feels fair, even if the Bombardier itself is behind a ridge, a building, or somewhere you cannot see yet. The weak point is that link. Break line of sight, and the stream of info stops. The shells get wilder, then stop landing on your exact position, which is usually your cue to shift cover or push forward.
Why Shooting The Spotter Is Not Always The Answer
A lot of players, especially early on, try to solve the problem by instantly gunning down the drone. It feels good for a second, sure, but you soon notice the pattern. The Spotter keeps coming back if the Bombardier is still alive. You end up burning ammo, changing mags, and still eating splash damage while the “real” threat sits untouched in the distance. The smarter move, most of the time, is to tag the Spotter only if it is free and safe, then focus on tracking the Bombardier. Once that heavy unit goes down, the drones lose their purpose and drift off. One big kill, and you clear the whole mechanic instead of playing aerial whack-a-mole.
Staying Alive When You Are Pinned
Of course, you cannot always run straight at the artillery platform. Sometimes you are caught in bad ground with the laser already on you. That is when basic positioning matters more than fancy gear. Hard cover, proper walls, interiors, anything that fully blocks sight will cut the lock. It is not enough to crouch behind a thin railing; you have to break the beam completely. If you are stuck in the open, utility saves you. Smoke grenades are huge here – drop one, and the Spotter loses visual instantly, giving you a few seconds to dive into cover or switch angles. Flashbangs and EMPs also help, since they can disrupt the drone long enough for your squad to move or set up a counterpush.
Loot, Scrap, And Knowing When To Back Off
Taking down Spotters and Bombardiers does pay off, even if it is not the flashiest loot in the game. You will usually scoop up things like Spotter Relays, ARC Alloys, and Powercells, which are exactly the kind of parts you need to keep your favourite builds rolling or put together a new piece from a guide you saw while looking for somewhere to buy ARC Raiders weapons. Just do not let the promise of scrap drag you into a bad peek while shells are still incoming. Clear the artillery threat first, keep the line of sight broken, then grab what you can and move on before the next wave locks onto you.


